How to Fix Uneven Surfaces Before Laminate Installation

Preparing the foundation of your home flooring is key for a long-lasting and appealing look, especially when considering laminate flooring. Before diving into the process of laying down laminate, ensuring that the surfaces are even cannot be stressed enough. Uneven floors can lead to a whole host of issues, from improper fits to eventual damage and wear. The key is to address any imperfections before installation. By doing so, you'll save time and resources in the long run and ensure that your new laminate flooring looks as stunning as intended. By providing a smooth surface, the flooring will lay perfectly flat, enhancing the overall visual appeal and functional value of your home.
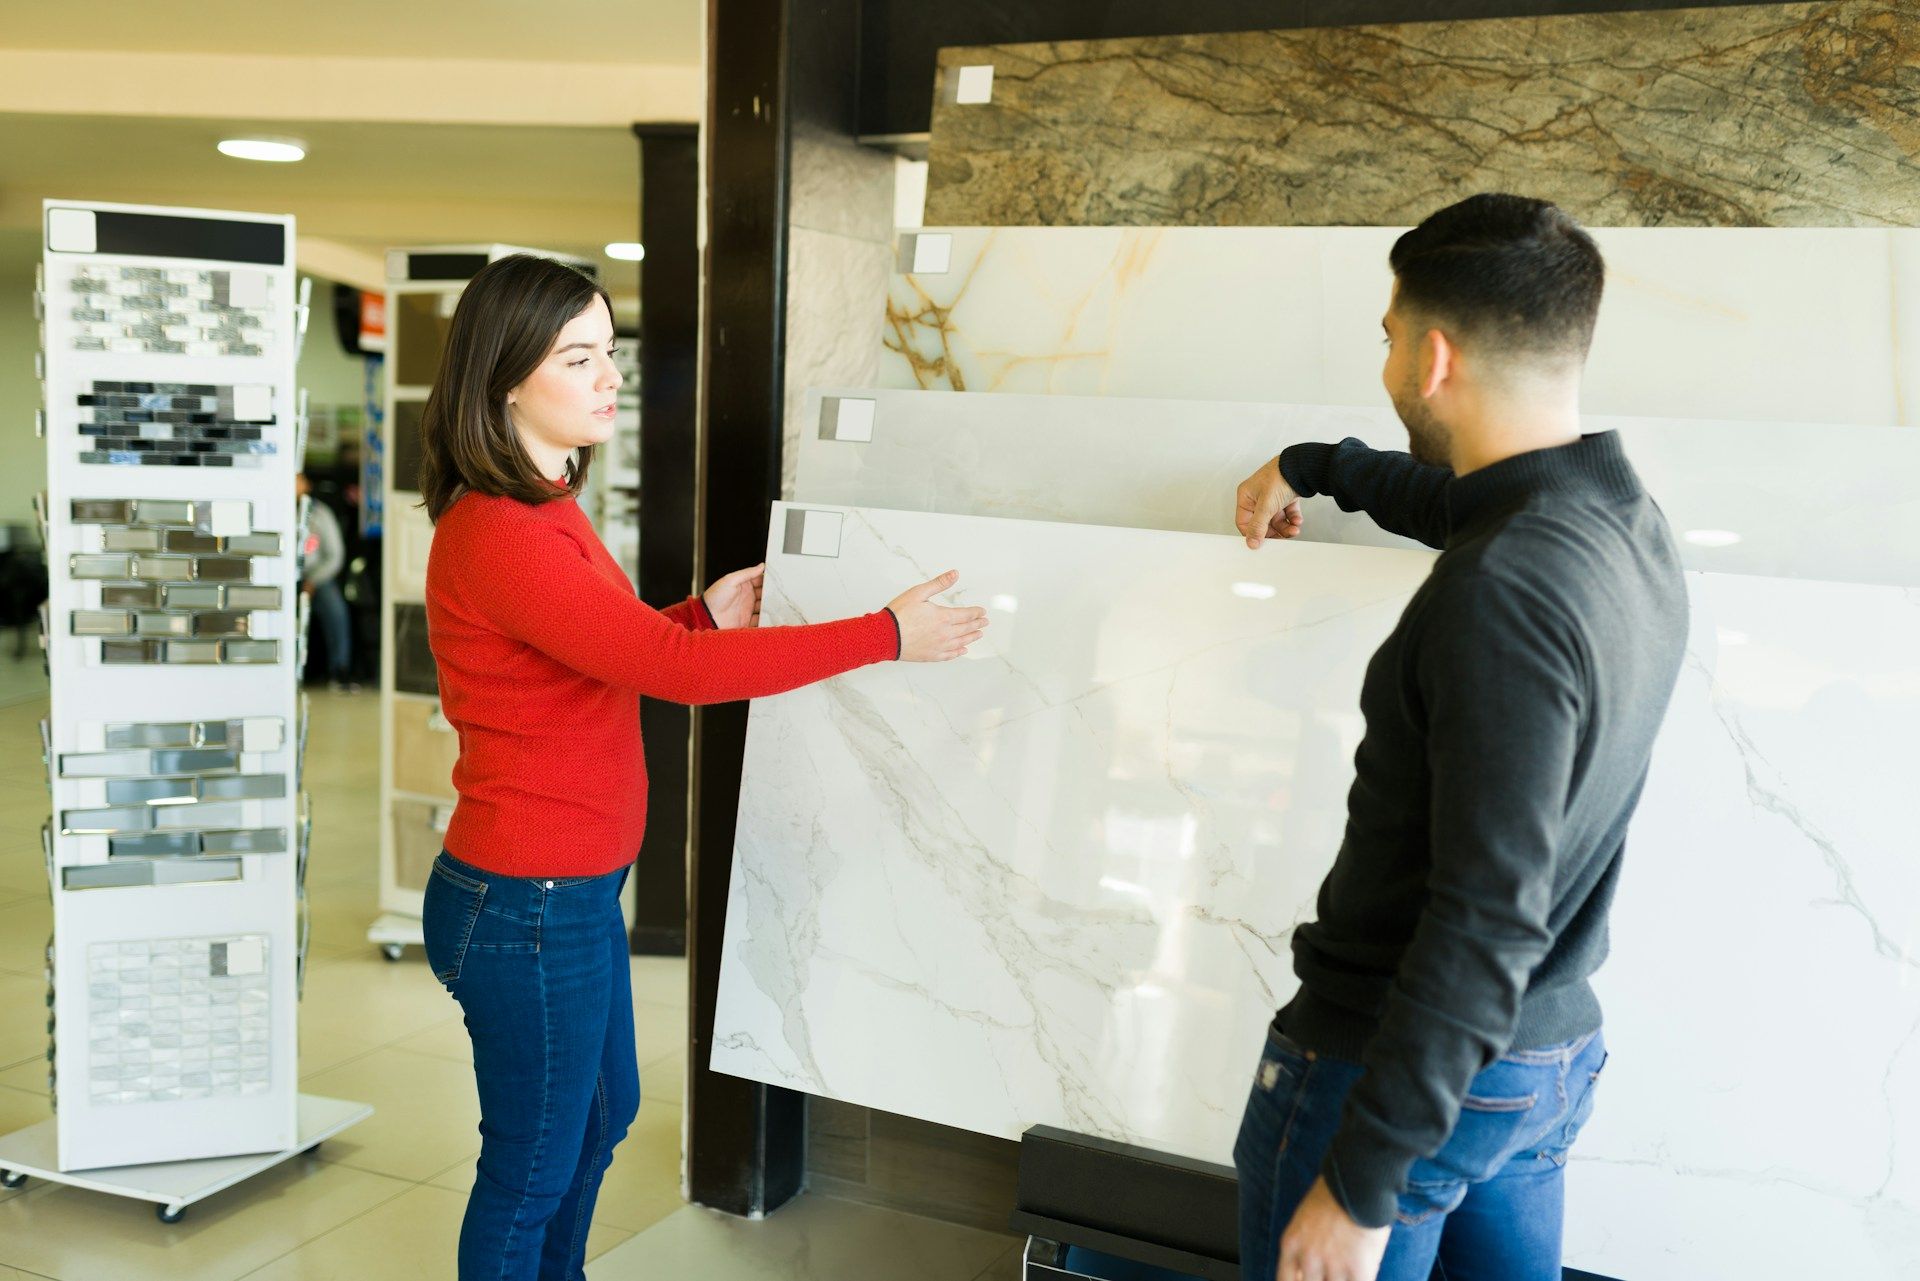
Installing laminate floors brings many benefits to your living space. This type of flooring is prized for its durability and versatility, making it a popular choice for many homes. It's resistant to wear and tear, easy to clean, and available in a range of styles to match any décor. Plus, it’s generally a more budget-friendly option compared to traditional hardwood. So, getting the groundwork right for this kind of installation is a smart move to fully enjoy what laminate floors have to offer.
Identifying Uneven Surfaces
Before you grab your toolkit, it's crucial to determine where uneven surfaces might lie. These uneven spots disrupt the flooring process and can create long-term problems if not addressed. So, how can you spot these troublemakers?
1. Visual Inspection: Start by simply walking over the area and using your eyes. Look for any dips or rises in your current flooring. Areas where the floor seems to slope or have visible gaps could indicate uneven subflooring. In some cases, sunlight streaming into a room can also reveal high or low spots with shadow lines.
2. Straight Edge or Level: A long straight edge or a carpenter's level is handy here. Place it flat on the floor surface; any gaps or rocking motion will pinpoint uneven areas. An easy way is to use a beam level—a longer level gives a more accurate picture.
3. Marble or Ball Test: This old trick involves placing a small round object like a marble on the floor and observing its movement. If it rolls to one direction, you’ve likely found a slope. Depending on how dramatically it moves, it can give you an insight into how severe the incline or decline is.
Uneven surfaces can create major headaches if unnoticed before installation. They not only affect the look but can also weaken the structure of the laminate floors over time. Determining these early gives you a head start in fixing them before they become more substantial problems. Catching these issues early allows you to proceed with confidence, knowing that the beautiful laminate floors you envision won't just look fantastic but will also stand the test of time. Stay informed and observant, and your upcoming installation will go far more smoothly.
Methods to Fix Uneven Surfaces
Once you've identified uneven surfaces in your home, it's time to address them before laying down your laminate floors. There are several effective methods to achieve a level surface, each suited to different types of unevenness. This part of the project is vital. Let's explore some common approaches:
1. Self-Leveling Compound: This is a popular choice for minor dips and peaks. A self-leveling compound is a cement-based mixture that spreads evenly over the subfloor, filling in low areas. It’s effortless to use, as it flows and fills gaps quickly when poured. Before using, make sure to clean the area thoroughly. Follow the instructions on the product for mixing and pouring. Use a trowel as needed to guide the compound into place, creating a perfectly flat surface.
2. Plywood Subflooring: For larger uneven areas, laying a new plywood subfloor is an effective strategy. This method works well when dealing with significant dips or when the existing surface is too rough. Simply measure and cut plywood sheets to fit the room, securing them with screws or nails. This creates a smooth, level base for your laminate planks. It might require more effort, but it’s a worthwhile step to ensure everything aligns just right.
3. Sanding High Spots: If there are notable high points creating an uneven surface, sanding them down is your best bet. Using a floor sander, gently go over the raised areas until they match the rest of the floor. Be cautious not to sand too much, as this can damage the subfloor or create more low spots. Consistent checking with a level can help guide you during the process.
Preparing for Laminate Installation
With the floor now level, it’s essential to prepare for installation. A few key steps will ensure your laminate floors look their best and last for years.
First, thoroughly clean the surface to remove any dust or debris from leveling. Vacuuming and mopping can help achieve this cleanliness. Dirt and loose particles can interfere with adhesive strength and cause irregularities in your final result.
Next, check the subfloor for any moisture issues. Moisture is a hidden enemy that can damage laminate floors over time. Consider using a moisture meter to test the subfloor. If any signs of moisture are present, address them before moving forward. Moisture barriers can be laid when necessary to protect your laminate from future damp.
Finally, acclimate your laminate flooring to the room. Leave the unopened boxes of laminate in the room where it will be installed for at least 48 hours. This allows the material to adjust to the room’s temperature and humidity, reducing the risk of warping or gapping after installation.
Importance of Professional Help
When tackling a project as impactful as flooring installation, considering professional help can make a real difference. Experts bring experience, precision, and knowledge that can elevate the outcome of your renovation efforts.
Hiring professionals ensures that every detail is handled with care and expertise, from leveling uneven surfaces to laying the laminate. They can identify potential problems early and offer solutions that you might not consider, saving both time and money.
In Owensboro, KY, local professionals are familiar with common flooring issues and regional challenges. They understand the climate and its impact on flooring materials, providing tailored advice and service to suit your home perfectly.
Ready for a Flawless Laminate Installation?
Taking the proper steps to fix uneven surfaces before installing laminate floors sets the stage for a durable and attractive finish. From identifying problem areas to using effective leveling methods and preparing the subfloor, each task plays a crucial role in achieving flawless results.
With careful planning and attention to detail, you can transform any living space with laminate's appeal and practical benefits. Remember that professional help is always available if you need assistance or want to ensure the highest quality installation. Your beautiful new floors are within reach, ready to make a statement in your home.
Ready to install laminate floors that enhance your home’s beauty and functionality? Let Wilson’s Custom Flooring guide you through a seamless process. Explore our selection of
install laminate floors to find top-quality materials that ensure a stylish and durable finish. Reach out to us for expert advice and support in Owensboro, KY.