The Art of Hardwood Floor Refinishing: Revitalize Your Floors with Wilson's Custom Flooring

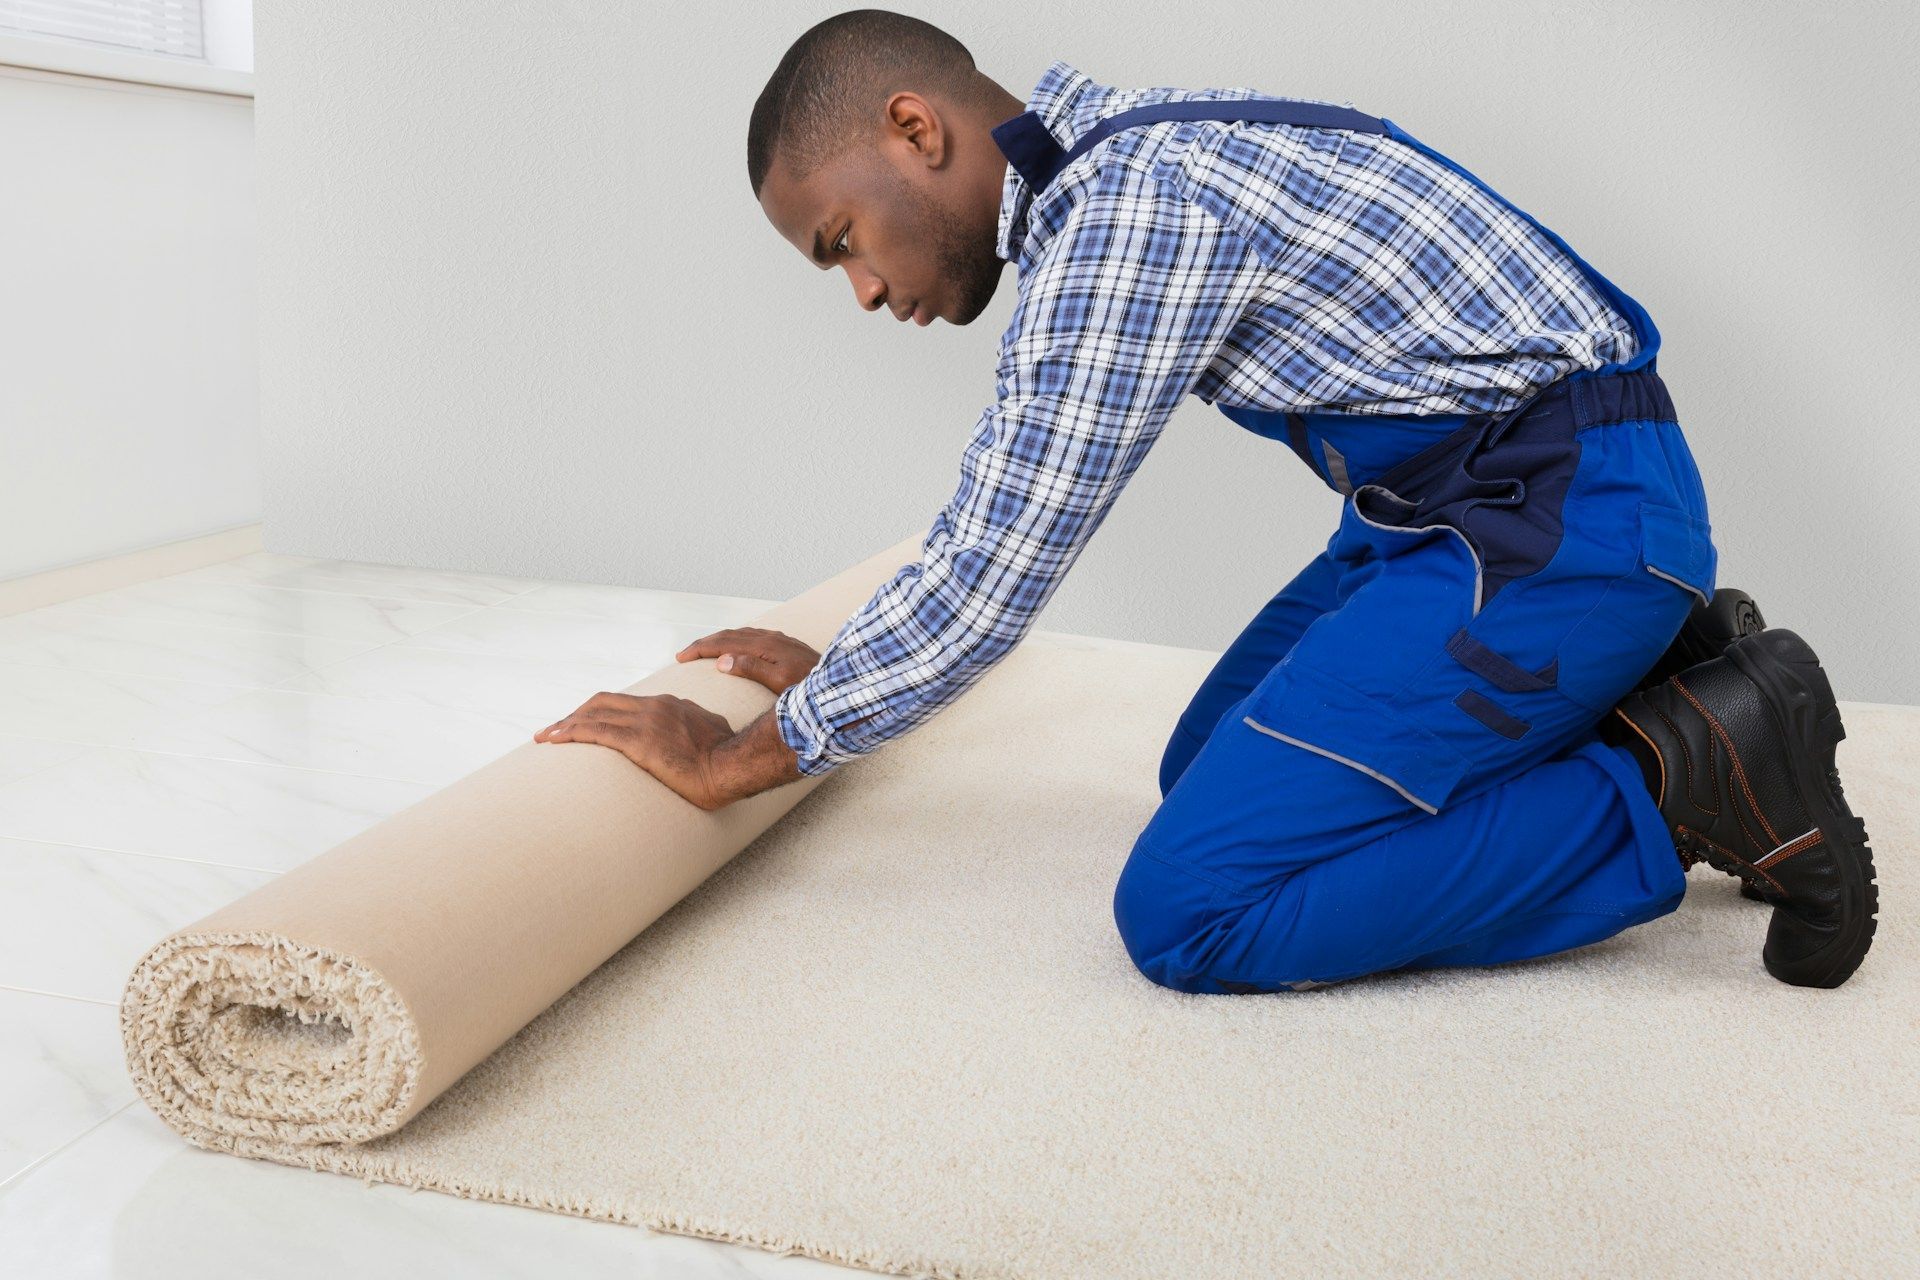
There's something incredibly satisfying about pulling up old carpet to reveal hardwood floors. It's like discovering buried treasure. But what do you do when that treasure is a bit tarnished? When those once-beautiful hardwood floors are scratched, stained, or just plain dull? You could shell out big bucks for a professional refinisher, or you can roll up your sleeves and do it yourself.
With Wilson's Custom Flooring, hardwood floor refinishing doesn't have to be a daunting task. In fact, it can be an opportunity to breathe new life into your floors, reviving their original beauty and adding value to your home. Sure, it takes a bit of elbow grease, but the results are well worth the effort. And we're here to guide you every step of the way.
From choosing the right stain to mastering the art of sanding, our guide will take you through the entire process, demystifying each stage and providing expert tips and tricks to ensure you get a finish you'll be proud of. Whether your hardwood floors are a little worn or they've seen better days, our advice will help you restore them to their former glory, adding warmth, character, and charm to your home.
Assessing Your Hardwood Floors: The Starting Point for a Successful Refinishing
The first step in the hardwood floor refinishing process is to evaluate the current condition of your floors and determine their suitability for refinishing. This assessment involves checking for signs of wear, damage, and previous refinishing work.
1. Surface Wear and Damage: Examine your hardwood floors for scratches, dents, scuffs, and any other visible imperfections. If the damage is limited to the surface and the wear layer is still intact, your floors are likely suitable for refinishing.
2. Prior Refinishing: Consider the history of your hardwood floors and any previous refinishing work that may have been done. Solid hardwood floors can typically be refinished multiple times, while engineered hardwood can only be refinished if the top layer is thick enough.
3. Structural Issues: Inspect your hardwood floors for signs of significant structural damage, such as cupping or warping, which may require repair or replacement rather than refinishing.
The Sanding Process: Removing the Old to Make Way for the New
Sanding is a crucial step in the hardwood floor refinishing process, as it removes the existing finish and exposes the fresh wood surface beneath. This step helps to eliminate surface imperfections and prepare your floors for staining and sealing.
1. Coarse Sanding: The initial sanding step involves using coarse grit sandpaper to remove the old finish and level out any minor unevenness in the floor.
2. Medium Sanding: The second sanding step requires a slightly finer sandpaper to smooth out the rough surface created by the coarse sanding.
3. Fine Sanding: The final sanding step utilizes a fine-grit sandpaper to achieve a smooth and even surface, ready for staining and sealing.
Staining and Sealing: Achieving the Perfect Finish
Once your hardwood floors have been sanded to a smooth surface, the staining and sealing process can begin. This step adds color, depth, and protection to your floors, ensuring a stunning and durable result.
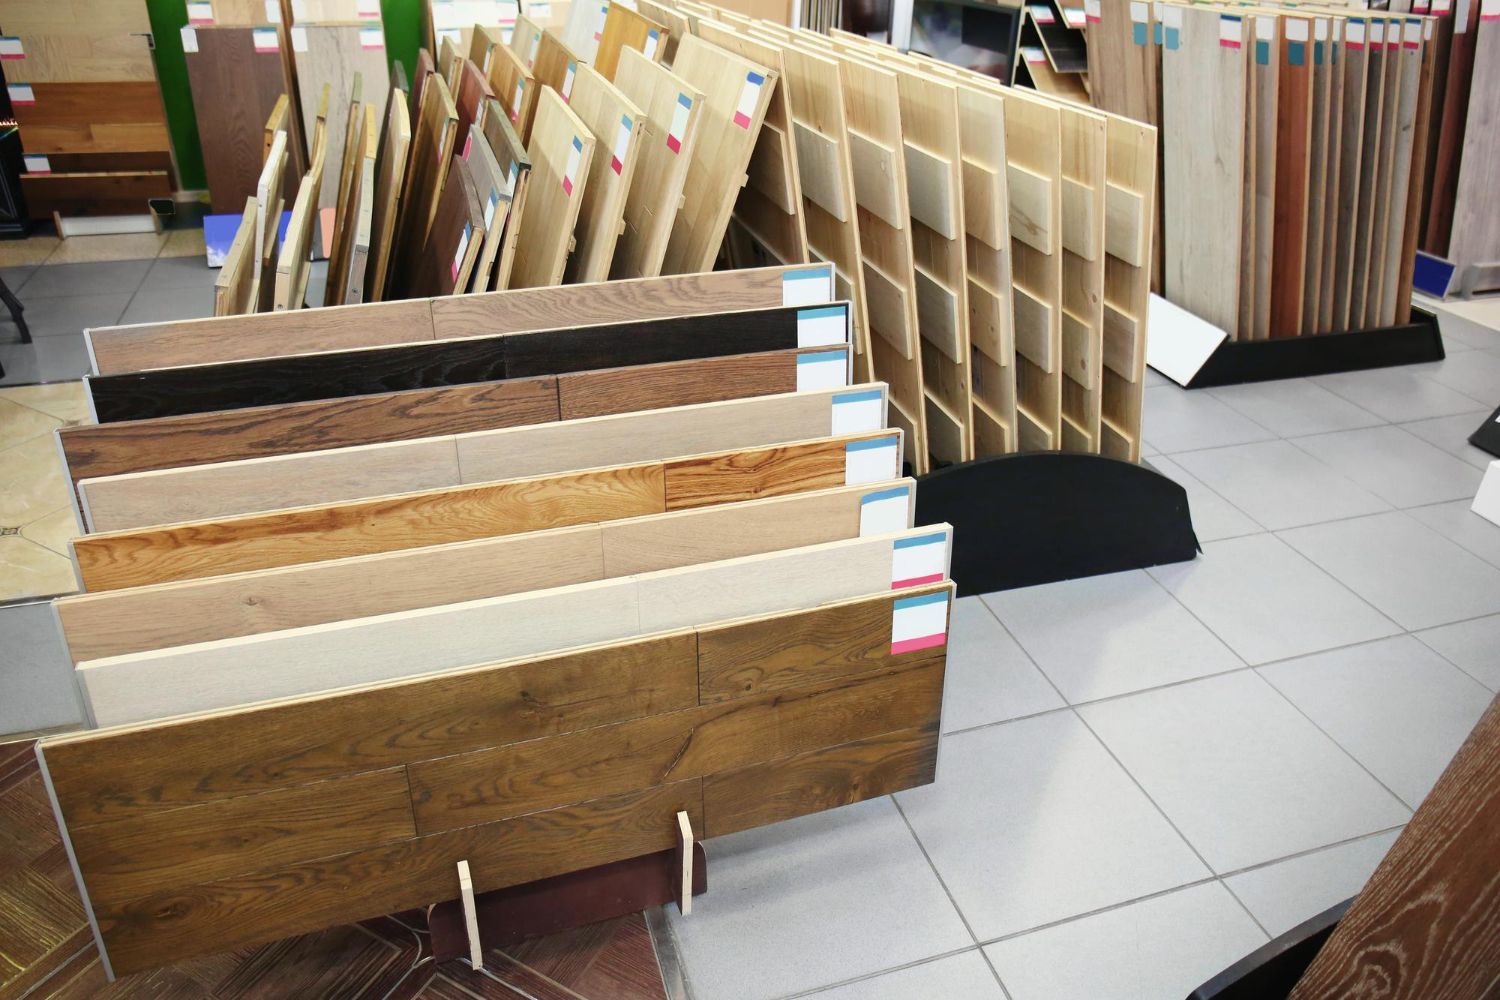
1. Stain Selection: Choose a stain color that complements your home's décor and meets your aesthetic preferences. Test stain colors on a sample piece of wood or an inconspicuous area of the floor to confirm your ideal choice. Wilson's Custom Flooring offers a wide range of high-quality stain options to cater to your specific vision.
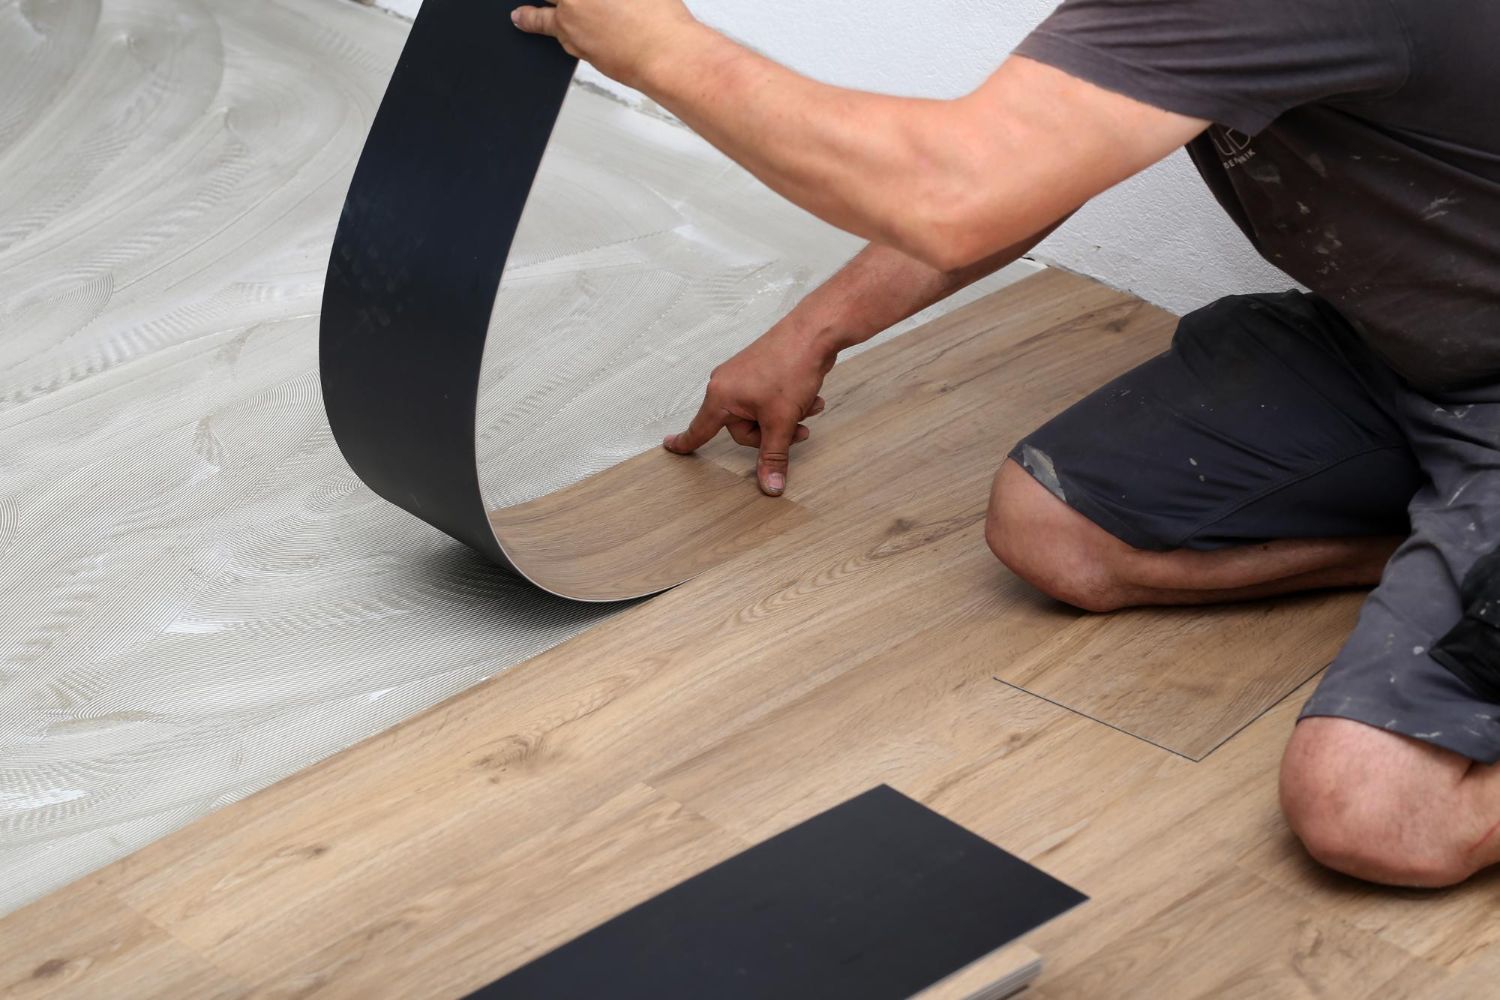
2. Stain Application: Apply the selected stain evenly and consistently across the entire floor, ensuring thorough coverage and attention to detail. Once the stain has dried and the desired color has been achieved, it's time for the sealing process.
3. Sealer and Finish: Applying a high-quality sealer and finish is vital in protecting your newly refinished floors from damage and wear. The finish adds a layer of protection, enhancing your floor's durability and lifespan while also providing a desired sheen. Options include matte, satin, semi-gloss, and high-gloss finishes to suit your preference.
Post-Refinishing Care: Preserving the Beauty of Your Floors
After your hardwood floor refinishing project is complete, it is essential to adopt proper care and maintenance practices to preserve the stunning beauty of your floors.
1. Regular Cleaning: Keep your floors dirt and dust-free by regularly sweeping, vacuuming, and using a damp mop with a hardwood floor cleaner.
2. Avoid Water Damage: Immediately clean up any spills and avoid excessive water exposure to prevent moisture damage on your refinished floors.
3. Use Protective Pads: Place protective pads beneath the legs of your furniture to prevent scratches and dents on your hardwood floors.
4. Maintain Consistent Humidity: Monitor indoor humidity levels and maintain a consistent environment to prevent excessive expansion or contraction of your hardwood floors.
Understanding the Tools and Materials for Hardwood Floor Refinishing
Hardwood floor refinishing is an artful process that can dramatically transform the look and feel of your home. By entrusting your refinishing project to the skilled professionals at Wilson's Custom Flooring, you can ensure a breathtaking result that enhances the beauty and value of your space.
From expert assessment and sanding to the perfect staining and sealing, our dedicated team is committed to excellence in every step of the refinishing process. Breathe new life into your worn and dull hardwood floors with the transformative power of refinishing by Wilson's Custom Flooring.
Ready to embark on a hardwood floor refinishing journey that will revitalize your floors and elevate your home? Contact our
flooring store in Owensboro today to schedule a consultation and experience the exceptional service, skill, and care that sets us apart in the industry.