Easy Steps to Refinish Hardwood Floors

Refinishing hardwood floors is a task that can breathe new life into your living space. Over time, even with the best care, hardwood floors can become dull and scratched. Refinishing them can restore their original charm and beauty. Taking on this project yourself can be rewarding and cost-effective, and it is not as daunting as it may seem.
Before starting, it's important to prepare your floors correctly. This involves clearing the room, cleaning the floors, and making necessary repairs. Proper preparation can make the refinishing process smoother and more effective. Using the right tools and materials will also ensure your floors look their best once you finish.
Taking the right steps to care for newly refinished floors helps maintain their beauty for years. Simple cleaning routines and preventive measures can go a long way in preserving their shine. This guide aims to provide a clear, step-by-step approach to refinishing your hardwood floors and keeping them in great condition.
Preparing Your Hardwood Floors for Refinishing
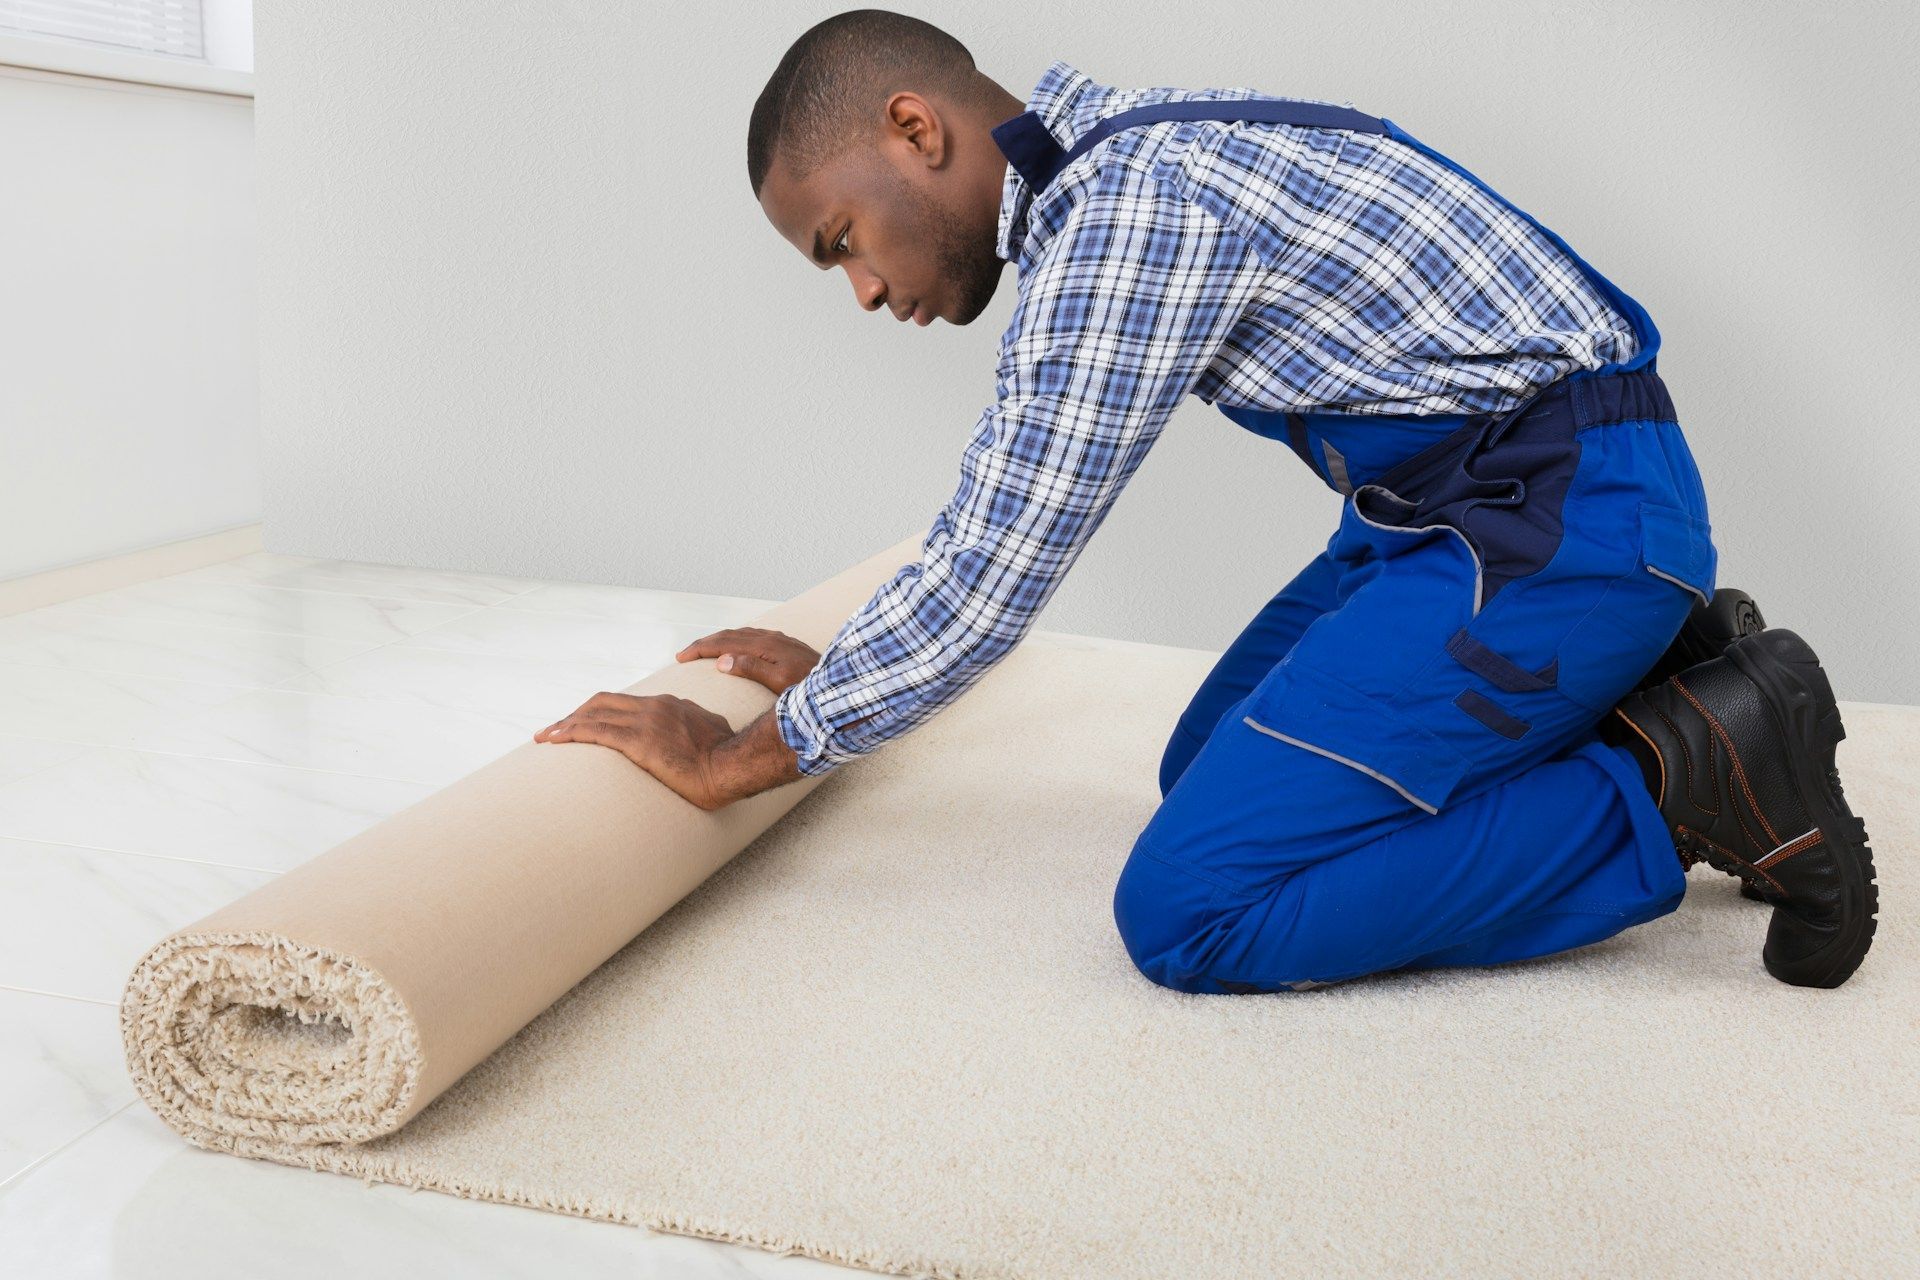
Before we begin refinishing, the first step is to prepare the room. Move all furniture, rugs, and any decor items to another space. This ensures nothing gets in the way and protects your belongings from dust and damage. It's also wise to take down any pictures or wall hangings to keep them clean.
Next, focus on cleaning the floors. Sweep and vacuum the area to remove dirt and debris. If there are any nails sticking out or loose floorboards, secure them with a hammer and nails. This helps create an even surface for sanding. Pay attention to any dents or scratches. Fill these with wood filler and let it dry for a smooth finish. Don’t forget to check for any squeaky spots and fix them by securing loose boards. Proper preparation is essential for a smooth and even refinishing job.
Essential Tools and Materials for the Job
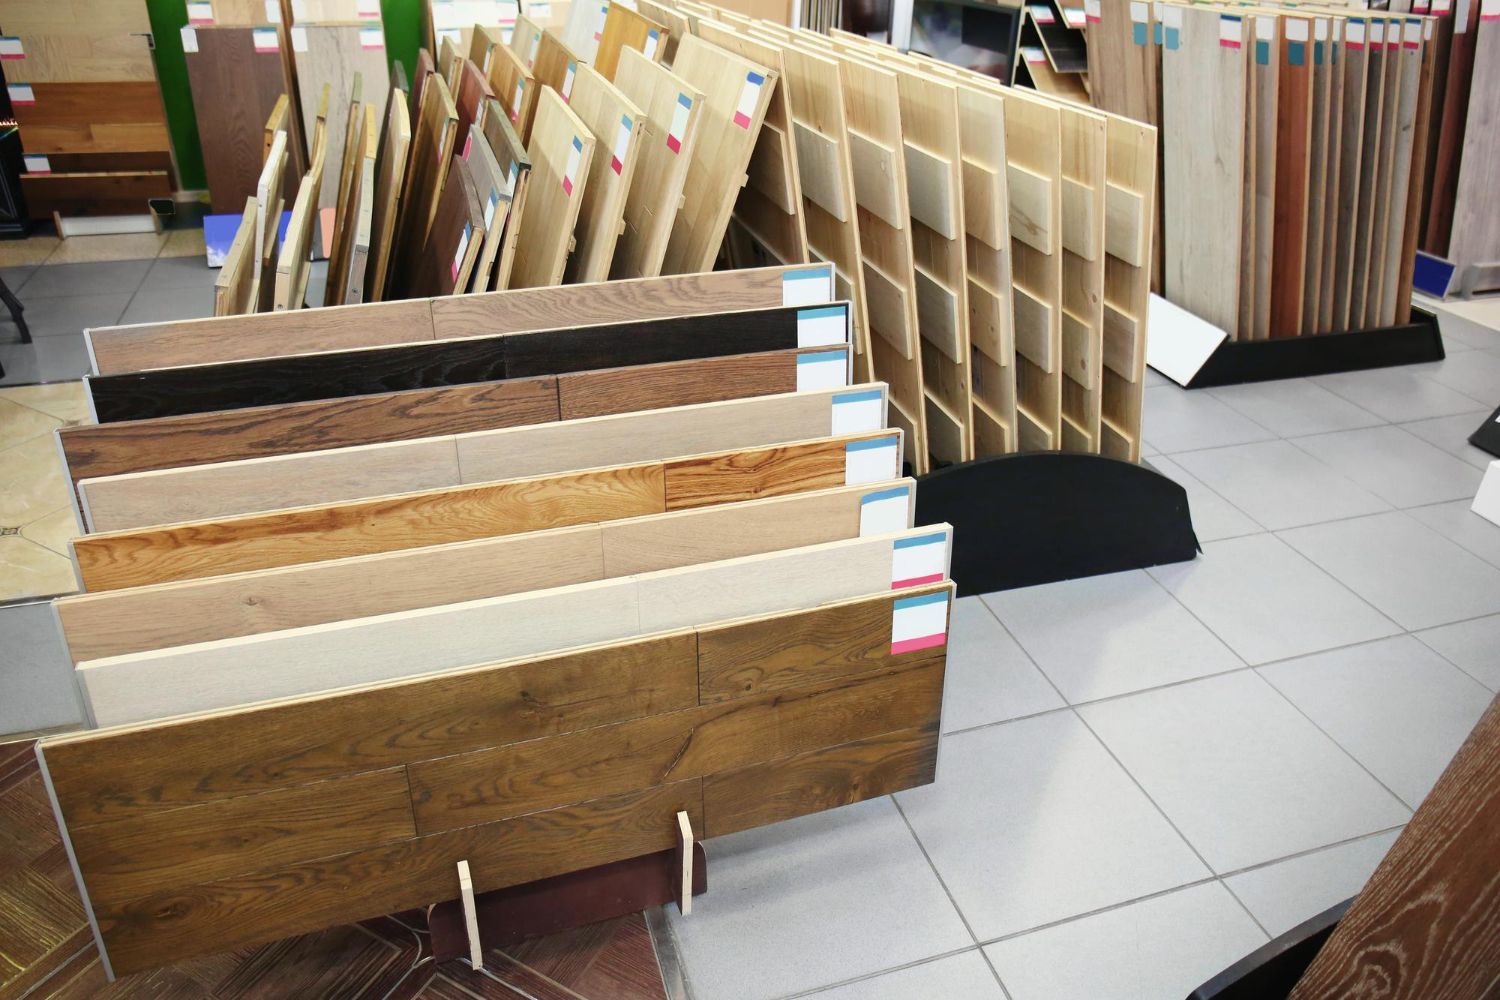
Having the right tools and materials can make refinishing your hardwood floors easier and ensure great results. Start with a floor sander. This machine is crucial for sanding the old finish off your hardwood floors. For corners and edges, an edge sander works best. You’ll need sandpaper in various grits, starting from coarse to fine. This will help you achieve a smooth and even finish.
In addition to sanding tools, a good vacuum and tack cloth are essential for cleaning up dust between sanding steps. For the refinishing stage, purchase wood stain and a polyurethane finish to protect and enhance the wood’s appearance. Brushes or applicators designed for floor finishes help ensure an even coat. You may also need painter’s tape to protect baseboards and other areas from getting stained or finished. Having these tools and materials on hand will make the process smoother and more efficient.
Step-by-Step Guide to Refinishing Hardwood Floors
Refinishing hardwood floors may seem challenging, but following a step-by-step process can make it manageable. First, remove all furniture and fixtures from the room. It's important to work in a clear space to avoid damage and ensure a smooth finish. Next, clean the floors thoroughly using a vacuum and a soft brush to remove all dust and debris.
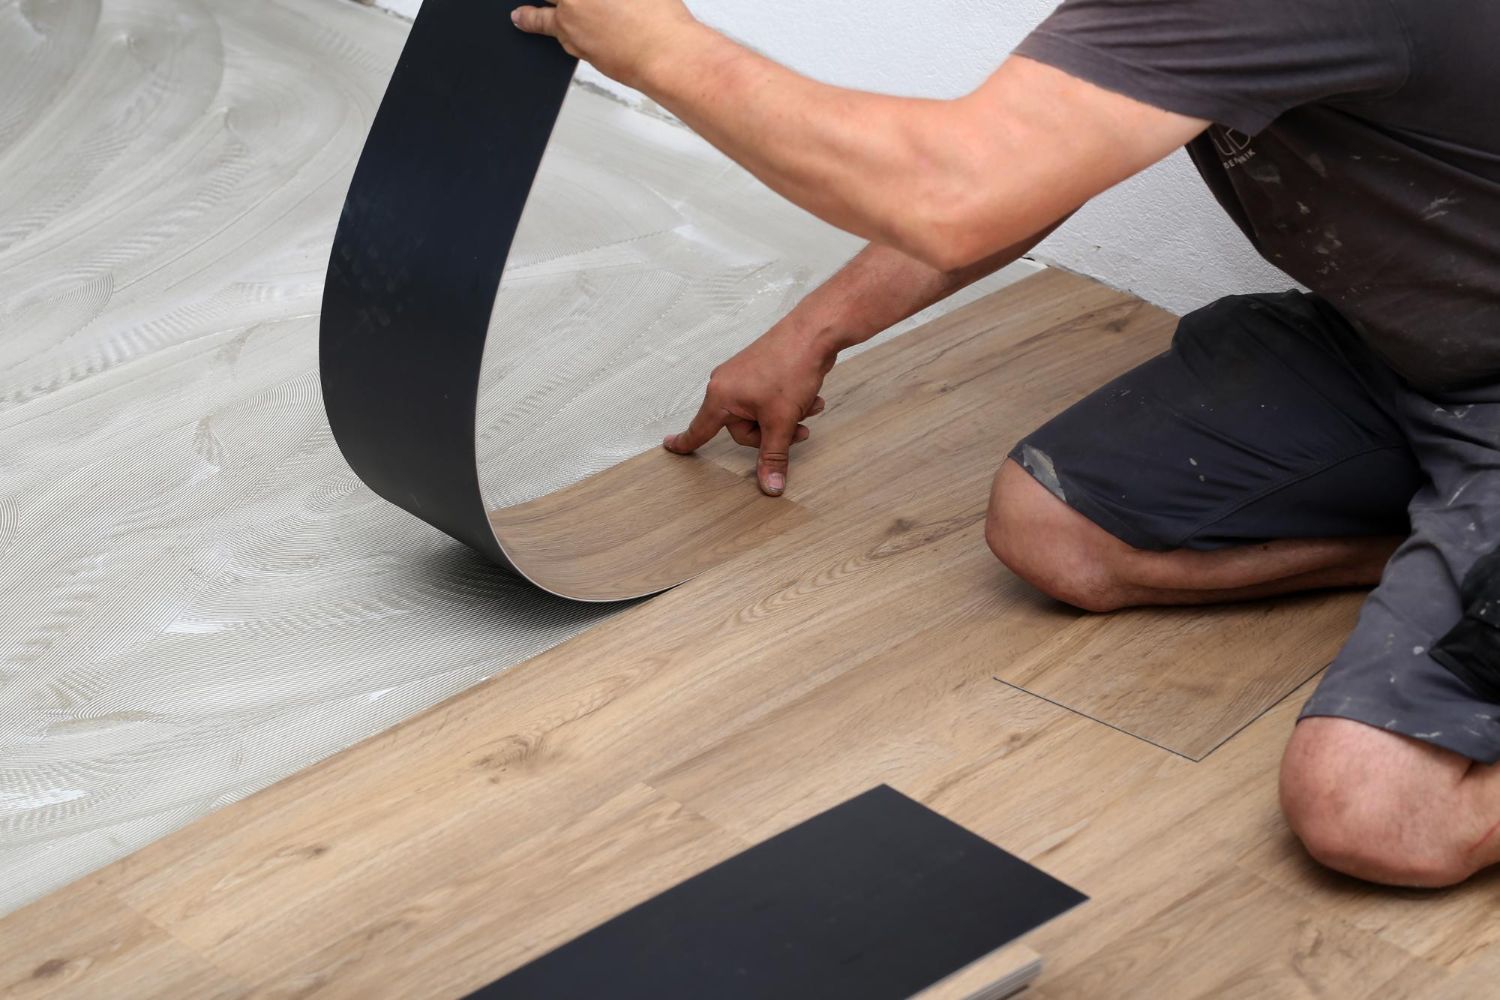
Once the floors are clean, sand the surface using a drum sander for large areas and an edge sander for corners and edges. Sanding helps remove the old finish and smooth out any imperfections. After sanding, use a vacuum to clean up all the dust. It’s crucial to be thorough during this step because dust can interfere with the new finish. Apply a wood stain if you wish to change the color of your floors, then allow it to dry completely.
Next, apply a polyurethane finish using a brush or applicator pad. Start at one corner and work your way out of the room to avoid stepping on the wet surface. Allow the finish to dry as per the manufacturer's instructions, usually around 24 hours, and then lightly sand with fine-grit sandpaper to remove any bubbles or imperfections. Apply a second coat of finish and let it dry completely. Your floors will look brand new after this process.
Tips for Maintaining Your Refinished Hardwood Floors
Maintaining newly refinished hardwood floors is essential to keep them looking beautiful for a long time. One effective way to protect your floors is by placing mats at entry points. This helps trap dirt and moisture before it reaches your hardwood, minimizing potential damage. We recommend using area rugs in high-traffic areas to shield the floor from scratches and wear.
Use furniture pads under the legs of chairs and tables to prevent scratches when moving them. Regularly sweep or vacuum your floors to keep them free of dirt and debris that can cause scratches. When cleaning, use a damp mop with a cleaner specifically designed for hardwood floors. Avoid using excessive water or harsh chemicals on your floors, as these can damage the finish.
Sunlight can cause discoloration, so consider using blinds or curtains to protect your floors from direct sunlight. Rearrange furniture periodically to ensure even wear and prevent any one area from fading more than others. By following these simple maintenance tips, your refinished hardwood floors will stay pristine and last for years.
Conclusion
Refinishing hardwood floors can bring new life and elegance to any space. With proper preparation, the right tools, and a step-by-step approach, you can transform your worn-out floors into stunning features. Maintaining them with regular cleaning and protective measures ensures they stay beautiful for longer. Our guide aims to make this process accessible and straightforward, providing you with the confidence to undertake this rewarding home improvement project.
Are you ready to give your hardwood floors the care they deserve? Trust Wilson’s Custom Flooring to help you from start to finish, ensuring top-notch results. Connect with us today and let our
hardwood floor stores assist you in making your floors look their best. Your dream home makeover starts with Wilson’s Custom Flooring.